摘要:本文将介绍在 Angular4 项目中配置 ngx-translate i18n 国际化组件
npm 安装 ngx-translate 模块
1 | npm install @ngx-translate/core --save |
在 Angular 项目配置
app.module.ts
添加1
2
3
4
5
6
7
8
9
10
11
12import { TranslateLoader, TranslateModule} from '@ngx-translate/core';
import { TranslateHttpLoader } from '@ngx-translate/http-loader';
imports: [
TranslateModule.forRoot({
loader: {
provide: TranslateLoader,
useFactory: (createTranslateHttpLoader),
deps: [Http]
}
})
]
结果如下:
1 | import { BrowserModule } from '@angular/platform-browser'; |
app.component.ts
添加
1 | import { TranslateService } from "@ngx-translate/core"; |
结果如下:
1 | import { Component } from '@angular/core'; |
添加多语言文件
在 src/app/assets/ 下创建 i18n 文件夹,并在文件夹内创建 en.json 和 zh.json 文件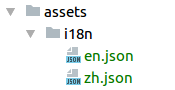
测试
app.component.html
添加代码:1
2
3
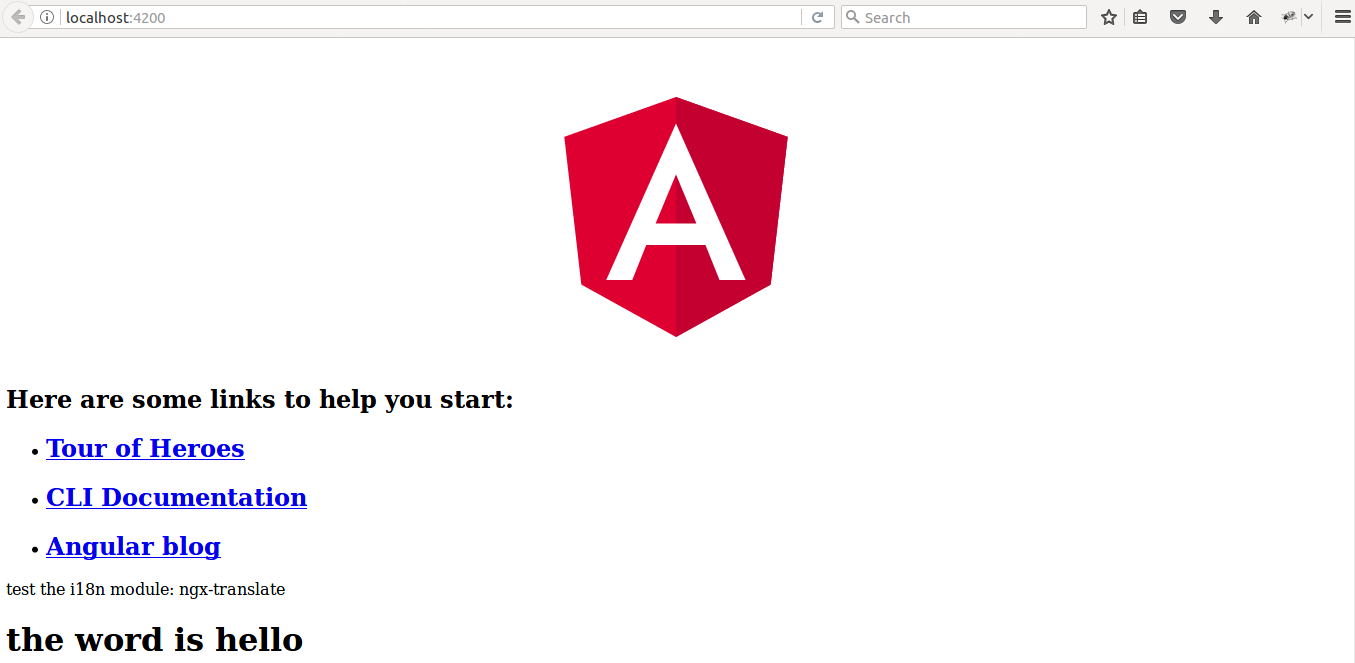
4<div>
<span> test the i18n module: ngx-translate</span>
<h1>{{ 'hello' | translate }}</h1>
</div>
在 en.json 和 zh.json 文件中添加配置
en.json 1
2
3{
"hello": "the word is hello"
}
zh.json 1
2
3{
"hello": "你好"
}
测试结果
在中文下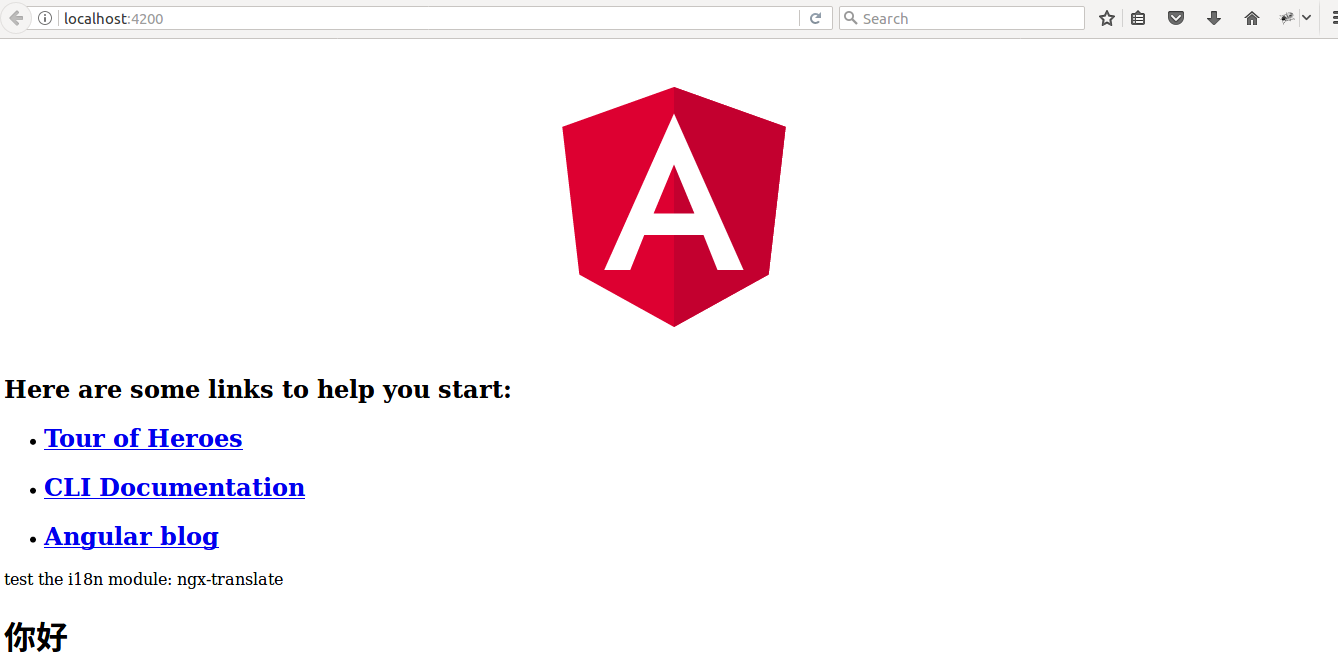
在英文下